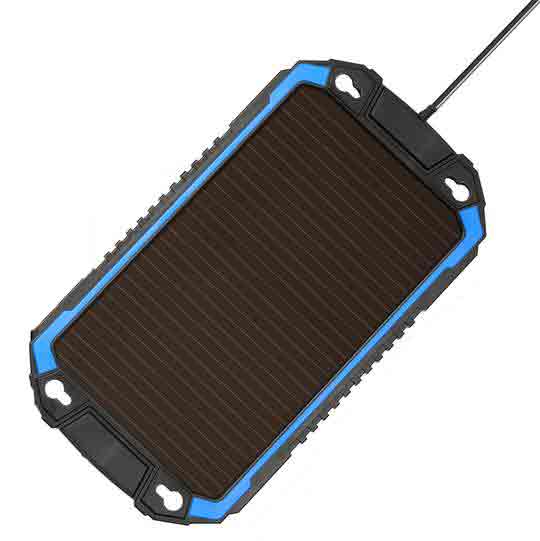
A trickle charger is a type of battery charger that charges the battery at its self-discharge rate. It does this by providing a constant voltage and current keeping the battery topped off. This can come in handy when you want to prevent a battery from dying. A car battery will discharge little by little over time even if you have the lights turned off. If you leave it long enough you’ll find a dead battery.
Solar Panels were conventionally used on rooftops to power our homes. However, advances in solar technology and demand for portable power has created a device that enables you to use a solar panel to charge your car battery. A small solar panel can be used as a trickle charger that charges the battery during the daytime and shutoffs when there is no sunlight.
Trickle chargers are designed to prevent overcharging. This means that if you leave your trickle charger on for too long, it will automatically shut off before doing any damage to your battery.
Because these chargers automatically turn off when they’re done charging, they don’t need any overcharge protection devices built into them.

Other features have been added to these solar battery chargers to ensure that it works efficiently and protects your battery. Let’s see how they work.
Battery Charge Cycle
To understand where a trickle charger comes in you need to understand a battery’s charge cycle. The voltage and current relationship in a battery is what is referred to as the battery charge cycle. The lead-acid battery charge cycle can be broken down into three stages; bulk, absorption, and float. This charging cycle applies to Lead Acid batteries including Wet, Gel, and AGM Lead-acid batteries. Lithium batteries don’t have the absorption stage and jump from bulk to float.
Bulk Charging
Bulk charging is the normal battery charging that provides a fast charge. This is charging a deeply discharged battery to bring the voltage up as fast as possible. The maximum amount of current is applied in this phase.
Absorption Charging
When the battery reaches about 70-80% charge it goes into the absorption stage. The Absorption stage is where the battery slows down the amps going in the battery as it cannot take in a lot of currents. It is in conditioning mode to step down the charging but allows for complete charging.
Float Charging
When the current through the battery decreases to a small percentage of the maximum current at the bulk stage. At the float stage, the battery is full and is only being topped off with a small charge to compensate for the idle discharge. This is what is referred to as a trickle charge though it may be applied to a battery that is not full.
How to Use a Solar Trickle Charger
A trickle charger is really easy to use and anyone can use one. A solar trickle charger is even easier to use. To operate, simply place the solar cell on your dashboard and plug in the cord to your cigarette lighter socket or OBDII connector on some. The LED light will turn on and your car battery will be receiving power from your charger.
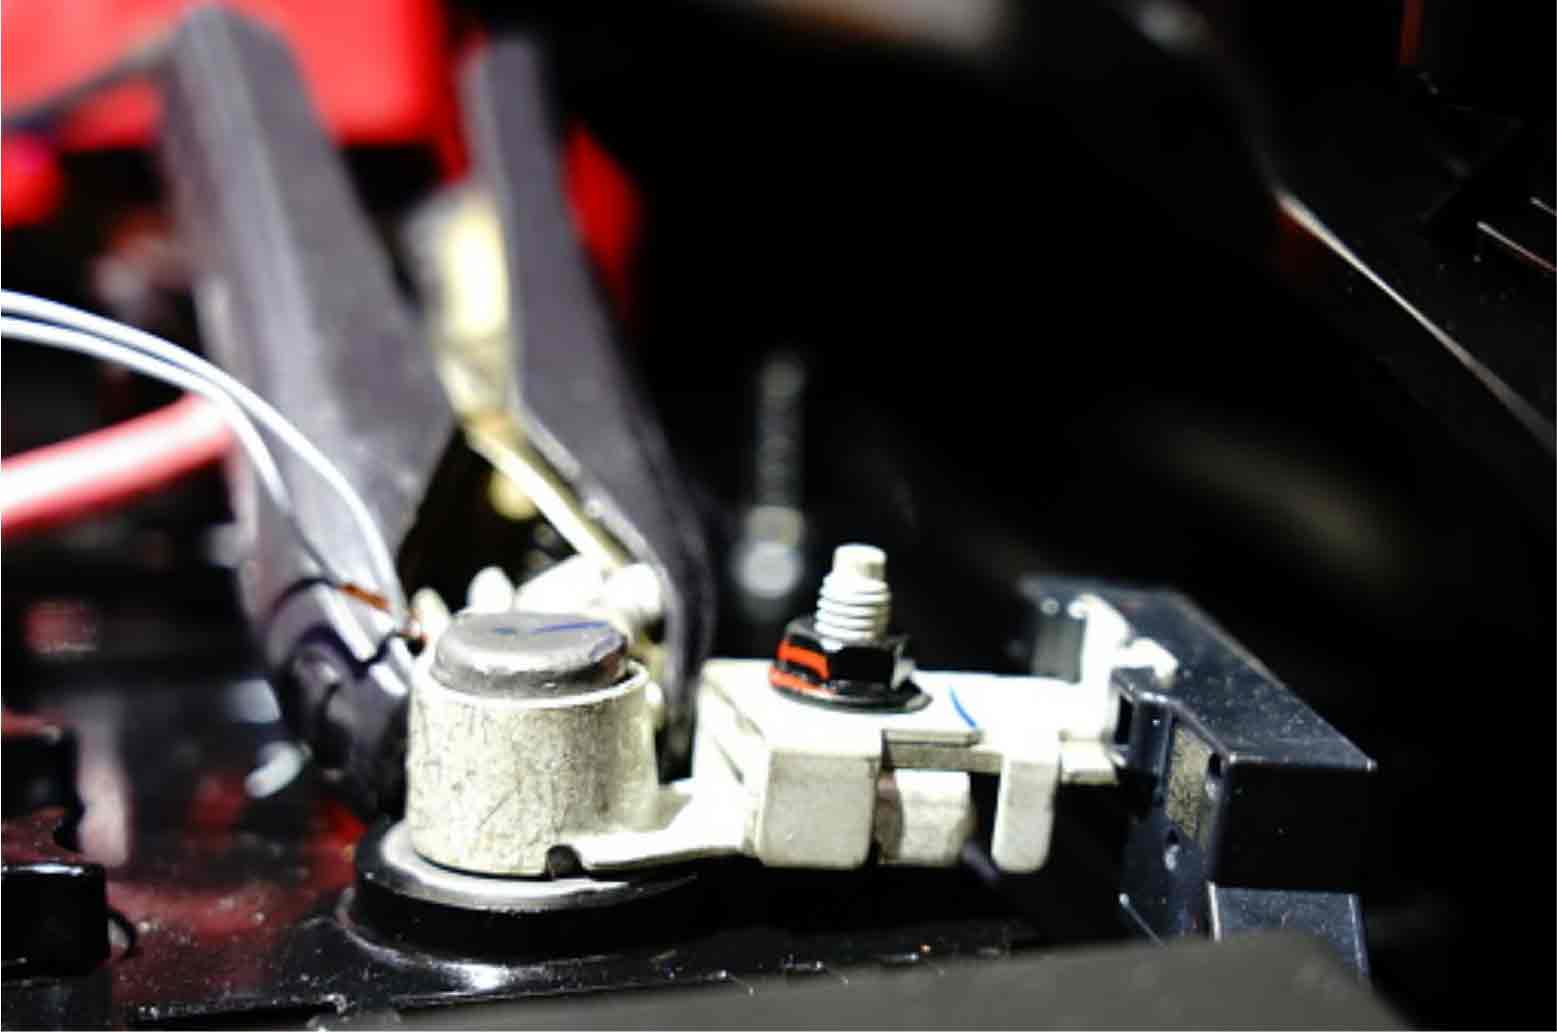
You can also use the alligator clips on the end of the cable to directly connect to your battery. The alligator clips will be indicated for the positive or negative usually red and black. You can leave a solar trickle charger on your battery indefinitely as it only applies a small charge during the day and will not be charging during the night. A blocking diode blocks reverse charging i.e. current flowing from the battery to the solar panels.
A Solar trickle charger can be used on cloudy and even during winter as they do not require much sunlight in order to operate. A 5-watt solar panel can be used to trickle charge your car, boat, and even RV battery i.e batteries over 50 ah without the need of a charge controller.
However, if you have a solar panel with a higher wattage a charge controller is a must. A charge controller will protect your battery from overcharging while allowing you to enter custom settings to suit your battery.
Let’s look at how you can set up your controller
Setting Up a Charge Controller for Trickle Charging Charging
- Connect the Battery
Make the connection using the alligator clips or the O-ring terminals by connecting the red (positive) cable to the red terminal first. Then connect the black (negative) to the negative terminal. You should NEVER connect a Solar Panel to the Controller without a Battery.
2. Connect the Charge Controller
The charge controller should be clearly labeled for Positive and Negative (‘BATTERY + and -‘). This is where you hook up the batteries.
3. Connect the Solar Panel to the Charge Controller
Once you have connected the battery now connect the charge controller to the solar panels. The charge controller should also be labeled for a ‘PV INPUT + and -‘. This is where you hook up the cables from the panels.
- Check the Indicator
The controller will have an indicator to show that it is receiving a charge from the Panels. Once connected you confirm you can leave.
- Set Controller to Float/Trickle Charge
Charge controllers have three settings for Lead Acid batteries; Bulk, Absorption, and Float. Some controllers will have a button that you can continuously press in order to set it to Float. Other controllers will have an interface were you can set to float while some have applications with Bluetooth capabilities that you can set from your phone or laptop.
